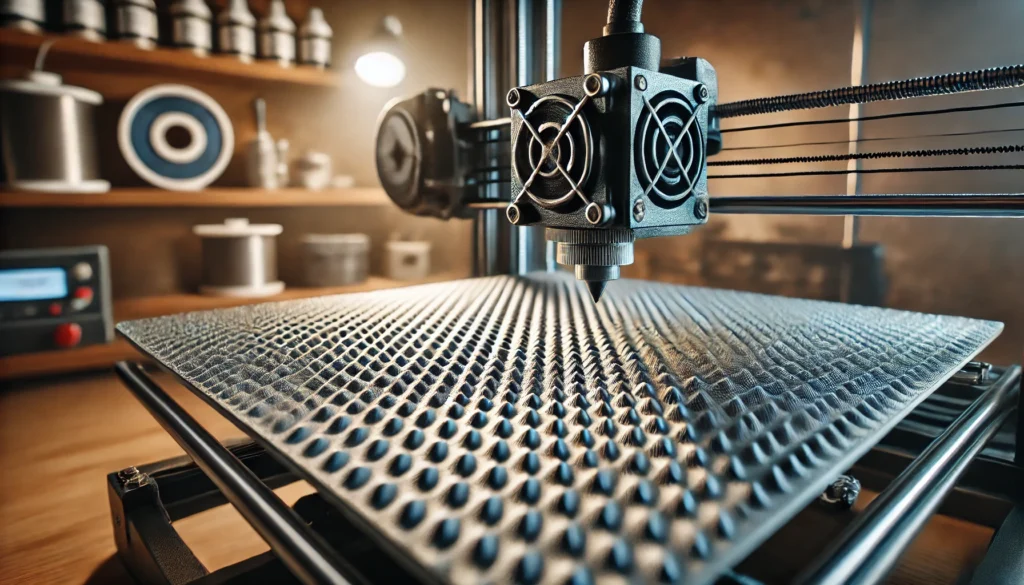
When it comes to 3D printing, the surface you print on plays a crucial role in determining the quality of your prints. Among the various types of print beds, textured print beds have gained popularity for their ability to deliver strong adhesion and aesthetically pleasing finishes. In this blog post, we’ll explore what textured print beds are, why they matter, how to use them, and how to maintain them for the best results.
What Are Textured Print Beds?
Textured print beds are build surfaces with a rough or uneven texture, typically made from materials like PEI (Polyetherimide), glass, or flexible steel sheets with a powder-coated surface. These beds create micro-abrasions that help filament adhere better during the printing process, which is particularly useful for filaments prone to warping, such as PLA, ABS, and PETG.
Why Use a Textured Print Bed?
- Improved Adhesion
- The textured surface offers a better grip for the first layer, reducing the chances of warping and lifting.
- It’s particularly effective with materials like PETG and TPU, which sometimes struggle to adhere to smoother surfaces.
- Aesthetic Finish
- Prints on textured beds often feature a matte or stippled finish on the bottom layer, adding a professional touch.
- For users who prefer prints with a unique texture, this is a way to achieve it without additional post-processing.
- Reduced Need for Adhesives
- Traditional methods like using glue sticks, hairspray, or tape can be messy and inconsistent.
- A textured print bed often eliminates the need for these extra adhesives, streamlining the printing process.
Choosing the Right Textured Print Bed
There are a few types of textured print beds available, each with its own set of advantages:
- PEI Powder-Coated Sheets: These are the most common and versatile option, offering excellent adhesion with most filaments. They are durable and easy to maintain but may require occasional re-coating if the surface wears down.
- Textured Glass: This option provides a smooth, glossy finish but still retains enough texture for good adhesion. It’s a great choice for users who want a bit of texture but also appreciate the traditional glass bed look.
- Magnetic Flex Plates: These beds are a combination of a flexible steel plate with a textured PEI coating. They are easy to remove, allowing you to flex the plate and pop off prints without risking damage.
How to Use a Textured Print Bed
- Proper Bed Leveling
- Start by ensuring your bed is level. A perfectly level bed is crucial for the first layer to adhere correctly.
- Use an automatic bed leveling sensor or manually level it with a piece of paper, making sure the nozzle is just close enough to the surface to create a thin, consistent first layer.
- Adjust the Z-Offset
- With textured surfaces, you might need to adjust the Z-offset to get the perfect first layer. If the nozzle is too close, it may squish the filament too much, leading to poor adhesion or an uneven finish. If it’s too far, the filament might not stick properly.
- Temperature Settings
- Adjust your bed temperature according to the filament type. For PLA, a bed temperature of 60°C usually works well, while PETG might require around 80°C.
- Experiment with slightly higher temperatures if you notice any lifting or warping, as it can help improve adhesion.
- Avoid Over-Squishing the First Layer
- With a textured print bed, less is more. Avoid pressing the nozzle too hard into the bed, as it can flatten the texture and lead to poor adhesion. Instead, aim for a consistent layer where the filament lightly fills the gaps of the texture.
Maintenance Tips for Textured Print Beds
To maintain the effectiveness of your textured print bed, proper cleaning and upkeep are essential:
- Regular Cleaning
- Clean the bed with isopropyl alcohol (IPA) to remove any residue from prints. Avoid using harsh chemicals like acetone, which can damage certain bed materials.
- For stubborn spots, a gentle scrubbing with a soft sponge or a dedicated PEI cleaner can help.
- Occasional Re-Leveling
- Over time, your bed may become slightly uneven due to thermal cycles. Regularly check and adjust the leveling to ensure the best adhesion.
- Avoid Using Sharp Objects
- When removing prints, avoid metal scrapers that can gouge or damage the surface. Instead, use plastic spatulas or, if you’re using a flex plate, gently bend the plate to release the print.
Troubleshooting Common Issues with Textured Print Beds
Even with the best setup, issues can arise. Here are a few common problems and how to fix them:
- Prints Not Sticking: If prints aren’t sticking, try increasing the bed temperature or lowering the nozzle height slightly to improve the adhesion of the first layer.
- Over-Adhesion: Some filaments, like PETG, may stick too well. In these cases, applying a light coat of a release agent like Windex or a small layer of glue stick can act as a buffer.
- Inconsistent Texture: If you notice that your first layers have inconsistent textures, check for bed leveling issues and adjust the Z-offset to ensure even extrusion across the entire bed.
Conclusion
Textured print beds offer a practical and aesthetic upgrade to your 3D printing experience, enhancing adhesion and adding a professional touch to your prints. With the right setup, maintenance, and troubleshooting, they can become an essential part of your 3D printing toolkit. Whether you’re working with PLA, PETG, or other filaments, textured beds provide a versatile solution for producing high-quality prints with minimal fuss.
Happy printing!
