Achieving Strong and Reliable Prints
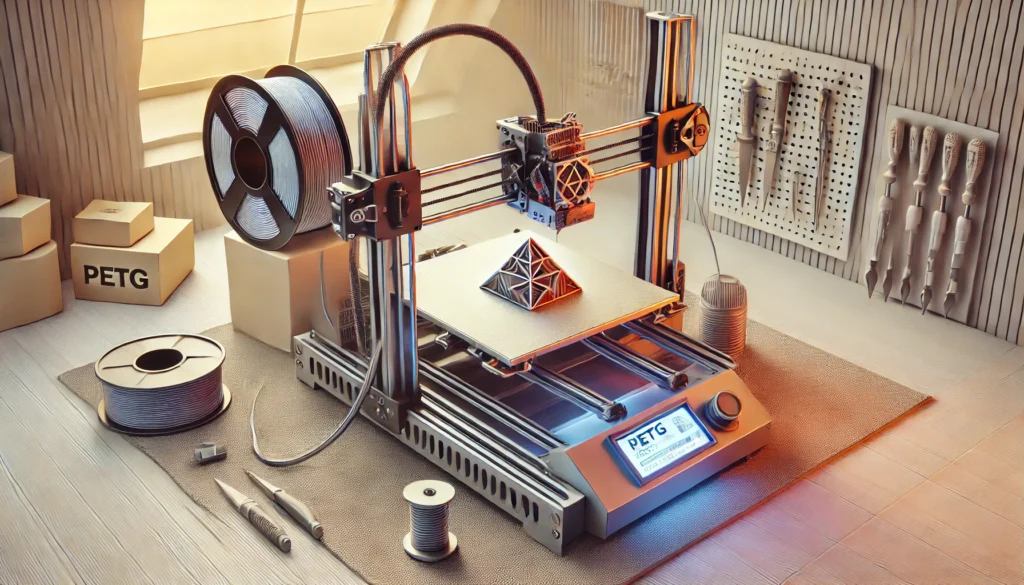
PETG (Polyethylene Terephthalate Glycol) is a popular 3D printing filament known for its strength, flexibility, and ease of use compared to other materials like ABS. It combines the best features of PLA (ease of printing) and ABS (strength and heat resistance), making it an ideal choice for functional parts, outdoor use, and mechanical applications. However, PETG also has some unique characteristics that can make printing tricky if not managed properly. Here are some tips to help you get the best results when printing with PETG.
1. Use the Right Temperature Settings
- Extruder Temperature: PETG usually prints well between 220-250°C. Start around 240°C and adjust if needed. If you notice stringing (fine threads of filament) or blobs, try lowering the temperature slightly.
- Bed Temperature: A heated bed is essential for PETG. Set it between 70-80°C to ensure proper adhesion. If you encounter warping, increase the bed temperature slightly.
2. Prepare the Bed for Adhesion
- Clean the Bed: Make sure your print bed is clean before printing. Wipe it down with isopropyl alcohol to remove any oils or residues.
- Use a Release Agent: PETG adheres extremely well, sometimes too well, to the print bed. Applying a thin layer of glue stick, painter’s tape, or a PEI sheet will help prevent prints from bonding permanently, making removal easier.
- Avoid Over-adhesion: If using a glass bed, consider a light layer of hairspray or using a specific PETG print surface like BuildTak. Avoid using ABS slurry or similar materials, as they may make removing PETG prints difficult.
3. Optimize First Layer Settings
- Nozzle Height: PETG requires a slightly higher first layer height compared to PLA. A common mistake is setting the nozzle too close, which can lead to over-extrusion and poor adhesion. Raise the nozzle slightly if you notice the filament dragging or spreading too wide.
- First Layer Speed: Slowing down the first layer speed to around 20-30 mm/s allows the filament to properly bond to the print bed. Adjusting the flow rate for the first layer can also help achieve a strong foundation.
4. Manage Stringing and Retraction
- Tweak Retraction Settings: PETG is prone to stringing. Adjust your retraction distance and speed—typically starting around 4-6 mm retraction distance and 25-40 mm/s retraction speed works well. Experiment to find the best settings for your printer.
- Cool It Down: If stringing persists, reduce the print temperature slightly or increase the cooling fan speed. PETG benefits from moderate cooling, unlike ABS, but too much cooling can affect layer adhesion.
5. Adjust Print Speed and Flow Rate
- Print Slower: PETG prints best at slower speeds, around 30-50 mm/s. This allows the filament to properly melt and fuse between layers, reducing issues like gaps or weak spots.
- Calibrate Flow Rate: Adjusting the flow rate (extrusion multiplier) is crucial for PETG. It should typically be set between 95-100%. Printing a calibration cube can help fine-tune this setting, ensuring there’s no over- or under-extrusion.
6. Fine-tune Cooling and Fan Settings
- Moderate Cooling: PETG benefits from cooling, but it’s a balance. Setting the fan speed to around 30-50% is a good starting point. Too much cooling can cause layer adhesion issues, while too little can lead to overheating and sagging.
7. Avoid Over-tightening the Extruder
- Extruder Tension: PETG is softer than PLA, and too much pressure on the filament from the extruder’s drive gear can deform it, leading to jams. Loosen the extruder tension slightly if you encounter issues like under-extrusion.
8. Check Your Nozzle Regularly
- Nozzle Buildup: PETG can leave residue in the nozzle, causing blockages or inconsistencies in prints. Regularly clean your nozzle by performing a cold pull or using cleaning filament. Consider using a hardened steel nozzle if you plan to print with PETG frequently, as it’s less prone to wear.
9. Post-processing PETG Prints
- Trimming and Sanding: PETG can be tricky to sand due to its flexibility, but wet sanding works best if you need to smooth surfaces. For small adjustments or removing stringing, a hobby knife can be effective.
- Gluing: PETG doesn’t bond as easily with super glue as PLA. Use a specific adhesive like epoxy for bonding PETG parts or welding them together with a soldering iron.
10. Store PETG Properly
- Keep It Dry: PETG is hygroscopic, meaning it absorbs moisture from the air. Always store it in a sealed bag with desiccant when not in use. If you notice popping sounds or bubbles during printing, dry your filament in an oven or filament dryer at around 50-60°C for a few hours.
Final Thoughts
Printing with PETG can be a rewarding experience, producing durable and high-quality prints suitable for a variety of applications. By optimizing temperature settings, managing adhesion, and fine-tuning retraction, you’ll achieve consistent and reliable results. Whether you’re printing functional parts or intricate designs, these tips will help you make the most of this versatile material.
